Mending Tears in Afi Ekong’s Grief

Examining Grief
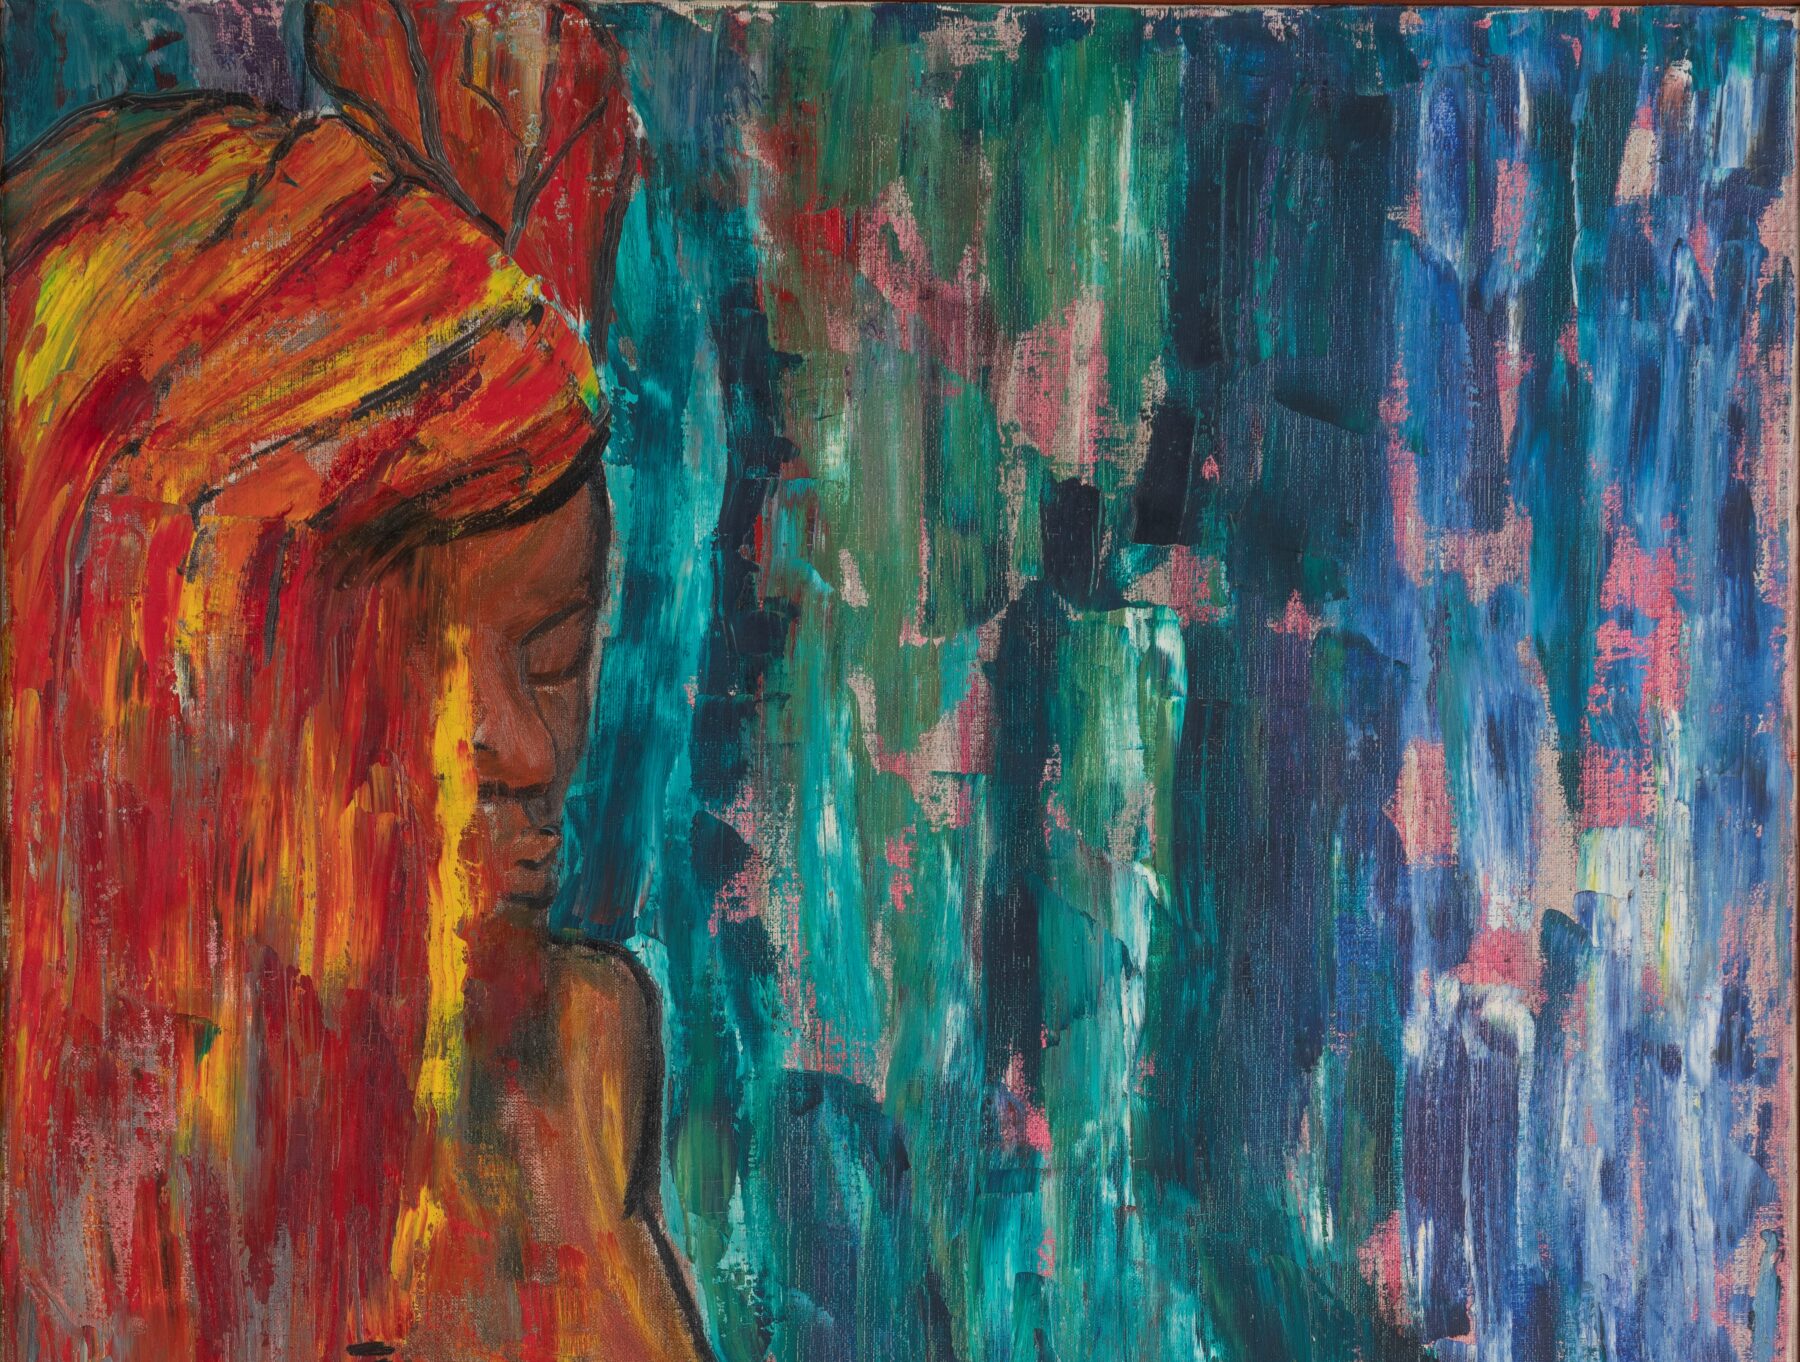
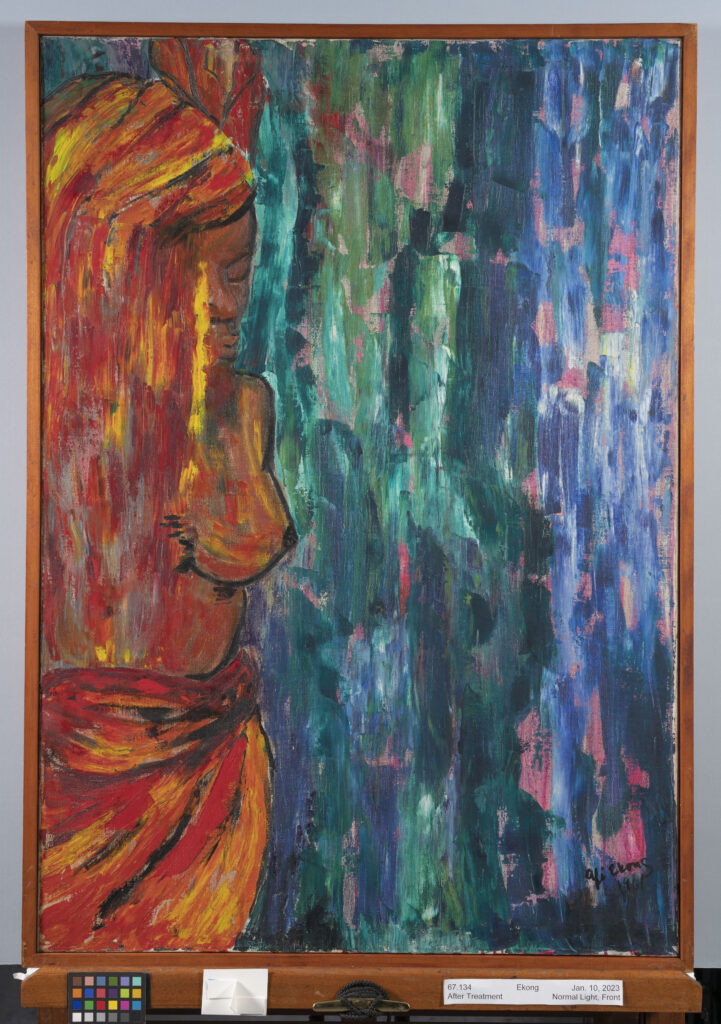
As a paintings conservator, one of the most gratifying aspects of this job is spending time with a painting, really looking closely, and gaining an intimate understanding of an artist and how a painting was made. The painting Grief depicts an abstract, orange, female figure with her head tilted down painted on the left side of the canvas in front of a blue and green background. The over three-foot tall paintingwas completed in 1961, four years after Constance Afiong “Afi” Ekong (Nigerian, 1930-2009) returned home from her art training in England. Not only was Ekong the first academically-trained female artist in Nigeria and the first woman to exhibit her works in Nigeria, she also played a vital role in promoting the works of other modern Nigerian artists by opening The Bronze Gallery and showcasing artists on her weekly television program, Cultural Heritage. Ekong’s paintings reflect a blend of her European training and inspiration from Nigerian culture.
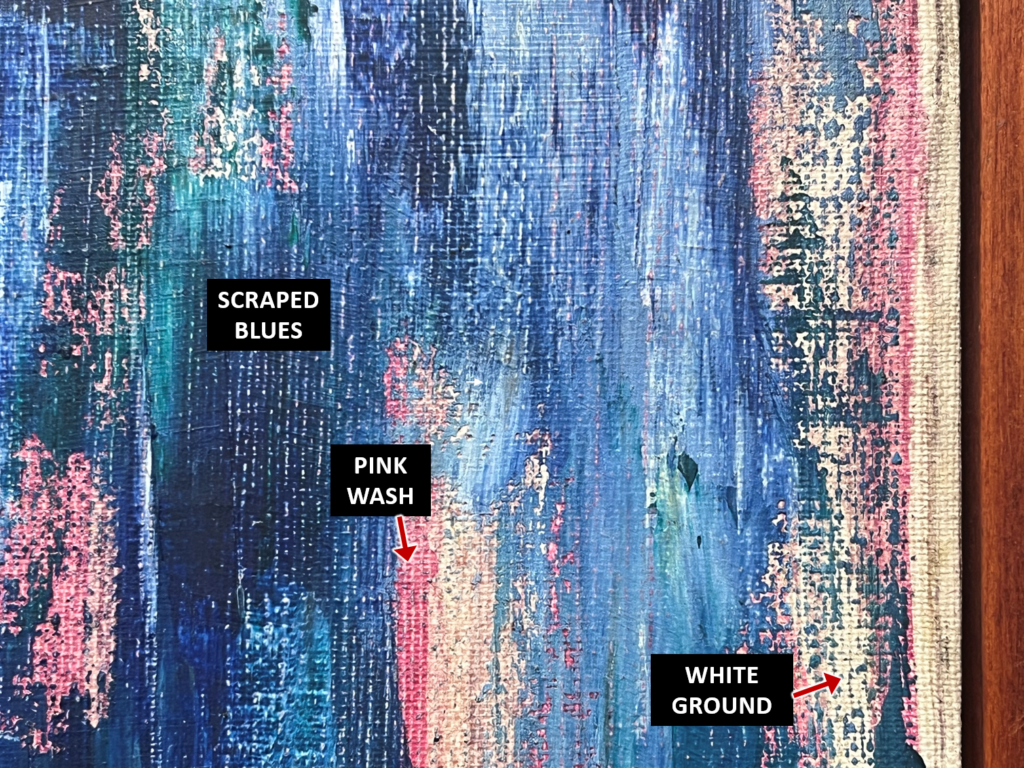
The contrast between the warm orange figure against the cool colors in the background are obvious, but what’s most striking to me about this painting is Ekong’s contrast between different paint applications and her unconventional techniques. Ekong started this painting with a brushy wash of thinned down, bright pink paint applied above the white ground layer. The transparent pink is juxtaposed with opaque blues and greens in the background that appear to have been applied with a palette knife, a tool typically used by artists to mix colors. The knife results in a surface with varying thickness that exposes peaks of the canvas weave through the scraped paint layer. Comparatively, the female figure is built up with thicker impasto, applied with either a brush or a palette knife, creating a rich and tactile surface. Subtle markings in the figure, particularly in the hair, appear to have been carved into wet paint using the back end of a brush. Finally, Ekong used a more fluid dark brown paint to outline the woman with a brush.
Condition
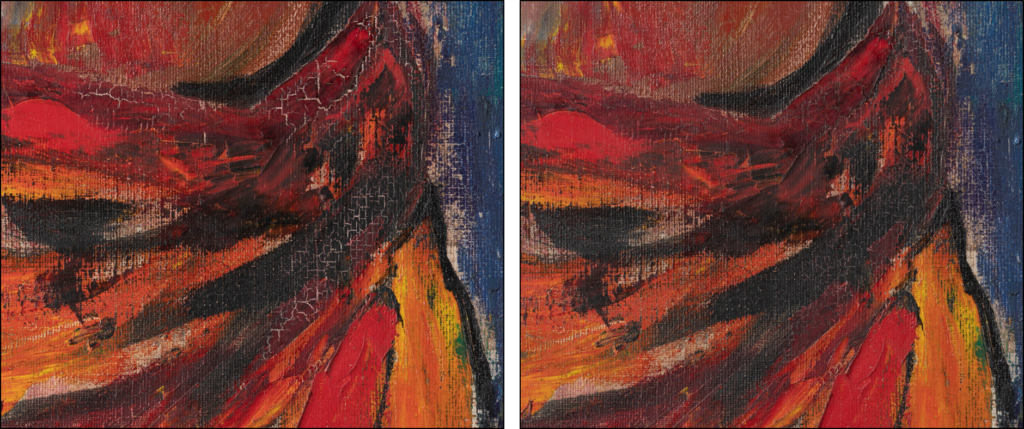
Upon first glance, Grief seemed to be in excellent condition. When we looked at the back of the painting, we could see that Ekong painted on a plain-weave canvas secured to a commercial wooden stretcher. The canvas has the proper tension, and the stretcher is structurally sound. On the front, we could see that there were no major areas of paint loss, and the surface was relatively clean. However, as we looked closer, we noticed three small tears in the canvas. There was a T-shaped tear in the lower left that measured 1¼” long by ½” and an L-shaped tear (¼” x 3/8”) in in the upper left as well as a tiny (¼”), vertical tear above that one. Behind the L-shaped tear, there was a patch of brown paper tape on the back of the canvas. Another condition issue we noted other than the tears was traction craquelure present in the cool reds and thicker areas of paint as well as a few areas of lifting and curling paint.
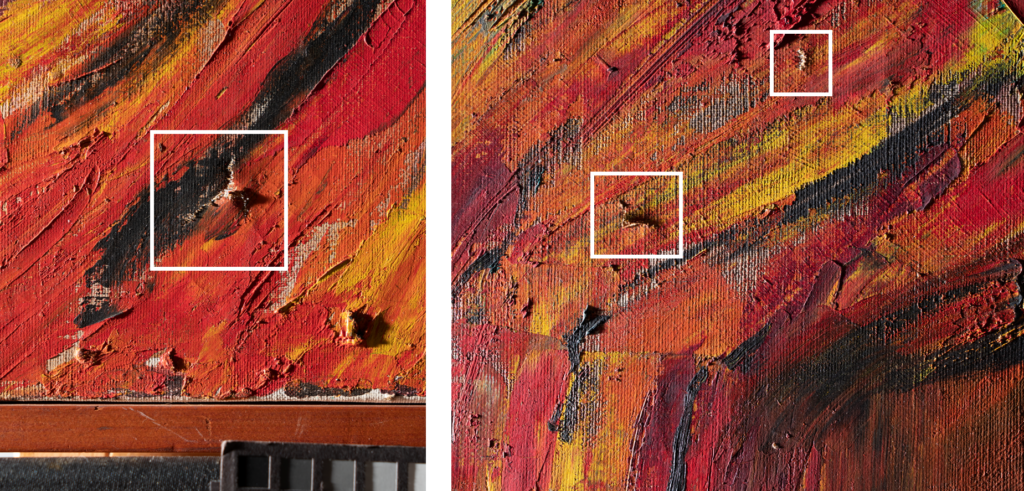
Right: Detail photo in raking light of the two tears in the upper left (¼” x 3/8”) and (¼”).
Mending the Tears
A painting on canvas is essentially a piece of fabric stretched around a frame. If a tear is left untreated, the tension of the canvas will cause the gap in the tear to widen and will be more difficult to treat in the future. Conversely, if a patch is glued to the back of a canvas, it will eventually telegraph through and create a bulge noticeable on the front of the painting. Mending a tear is delicate work that requires strong and flexible materials that are thin enough to not be noticeable on the front.
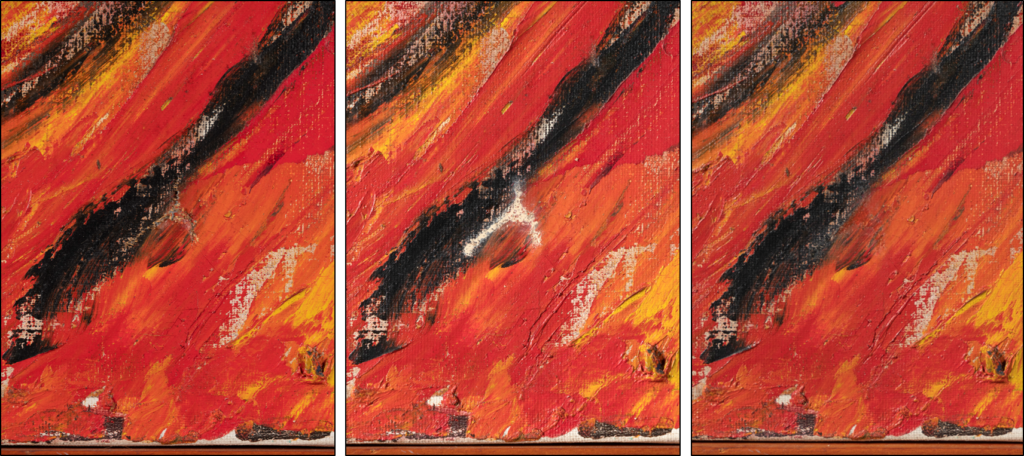
To prepare the tears for mending, I first consolidated the paint around the tear with sturgeon glue, a protein-based adhesive with good aging properties that is reversible with water. Next, I gently peeled off the paper patch on the back of the canvas with my fingernail and a spatula. I then spent some time under the microscope realigning the ends of each tear.
There are a number of different methods paintings conservators use to mend tears depending on the individual needs of the painting and how extensive the damage. I chose to do a Japanese tissue mend. Although thin, the long interlocking fibers in the handmade tissue impart a strength that makes it an ideal material for mending tears. The tissue also has a similar composition to canvas fibers which enables it to bond well to the ends of the tear and maintain similar physical properties. To begin the mend, I painted Jade 403, a synthetic, water-soluble adhesive, onto each end of the tears. I chose Jade because it remains flexible and will move with the canvas. I then used a tiny brush and a wooden skewer to push a small piece of Japanese tissue into the tear. I applied another layer of tissue that overlapped the ends of the tear slightly to act as a bridge. I let the mends dry over night under weight.

The next day, I added an additional layer of a very thin, open-weave, monofilament polyester to reinforce the mend. Although paintings conservators use thin, reversible materials, we still need to take steps to avoid adding bulk and prevent any future telegraphing that a patch can impart. We do this by creating a gradation in the size and shape of any added materials and making sure there are no hard edges. I cut the polyester with pinking shears (to create a jagged edge) slightly larger than where the final piece of tissue ends. To attach the polyester, I used BEVA Film, a heat-activated adhesive that is reversible with heat or non-polar solvents. It is flexible like the Jade, but it offers more protection from water and sticks to polyester better than water-soluble adhesives. I cut a piece of the film slightly larger than the size of the polyester and used a warm tacking iron to attach the film and then the polyester over the tissue mend.
Inpainting
After mending, I filled the losses in the tears with a pigmented wax resin so the fill and texture was level with the paint surface. The final step in this treatment was inpainting. This is when we paint into the losses so they match the surrounding colors and gloss. We use a tiny brush and a paint medium that is reversible in solvents that won’t harm the original paint. I inpainted the fills as well as some of the most distracting cracks. My goal was to make sure Ekong’s work is the first thing viewers notice, not the cracks or the damages. This treatment not only involved careful mending and inpainting but also allowed us to get closer to Ekong and gain a deeper understanding of her work.
Explore other articles like this
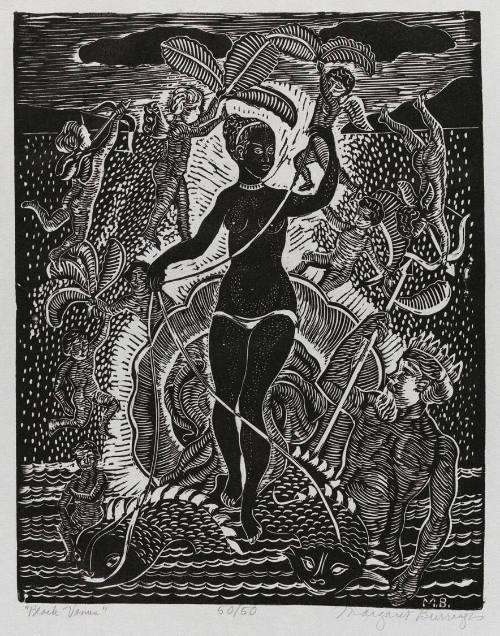
Diving into the Waters of The Black Venus
In her 1957 linoleum print, "Black Venus," Margaret Burroughs reimagines historical depictions of Black women, transforming narratives of exploitation into ones of resilience and empowerment. Her work challenges past portrayals and honors the Black female form.
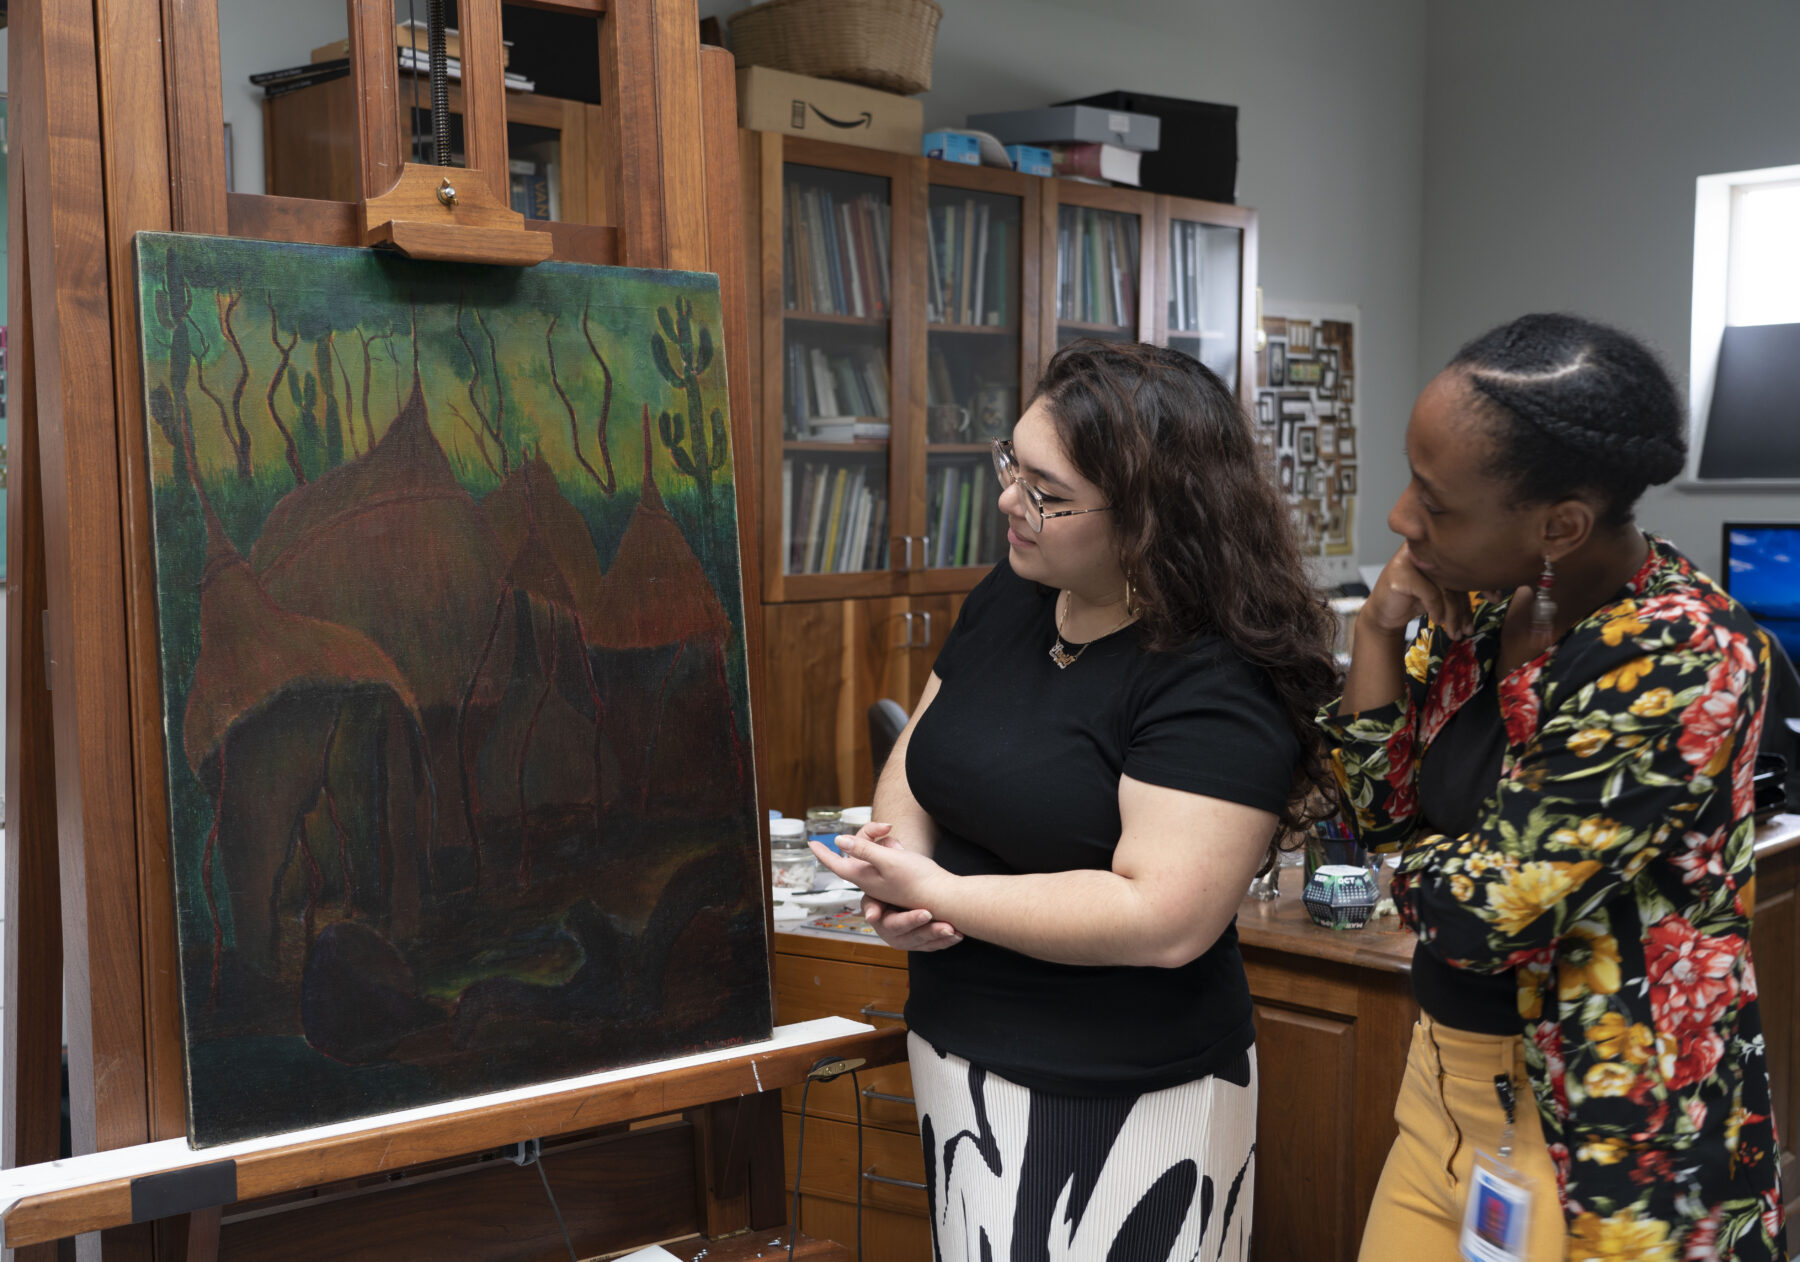
Art Spotlight: The Abandoned Hut by Mordecai Buluma
In this blog post Angie and Tashae discuss the symbolism behind The Abandoned Hut by Mordecai Buluma as well as the conservation treatment used to prepare it for exhibition.
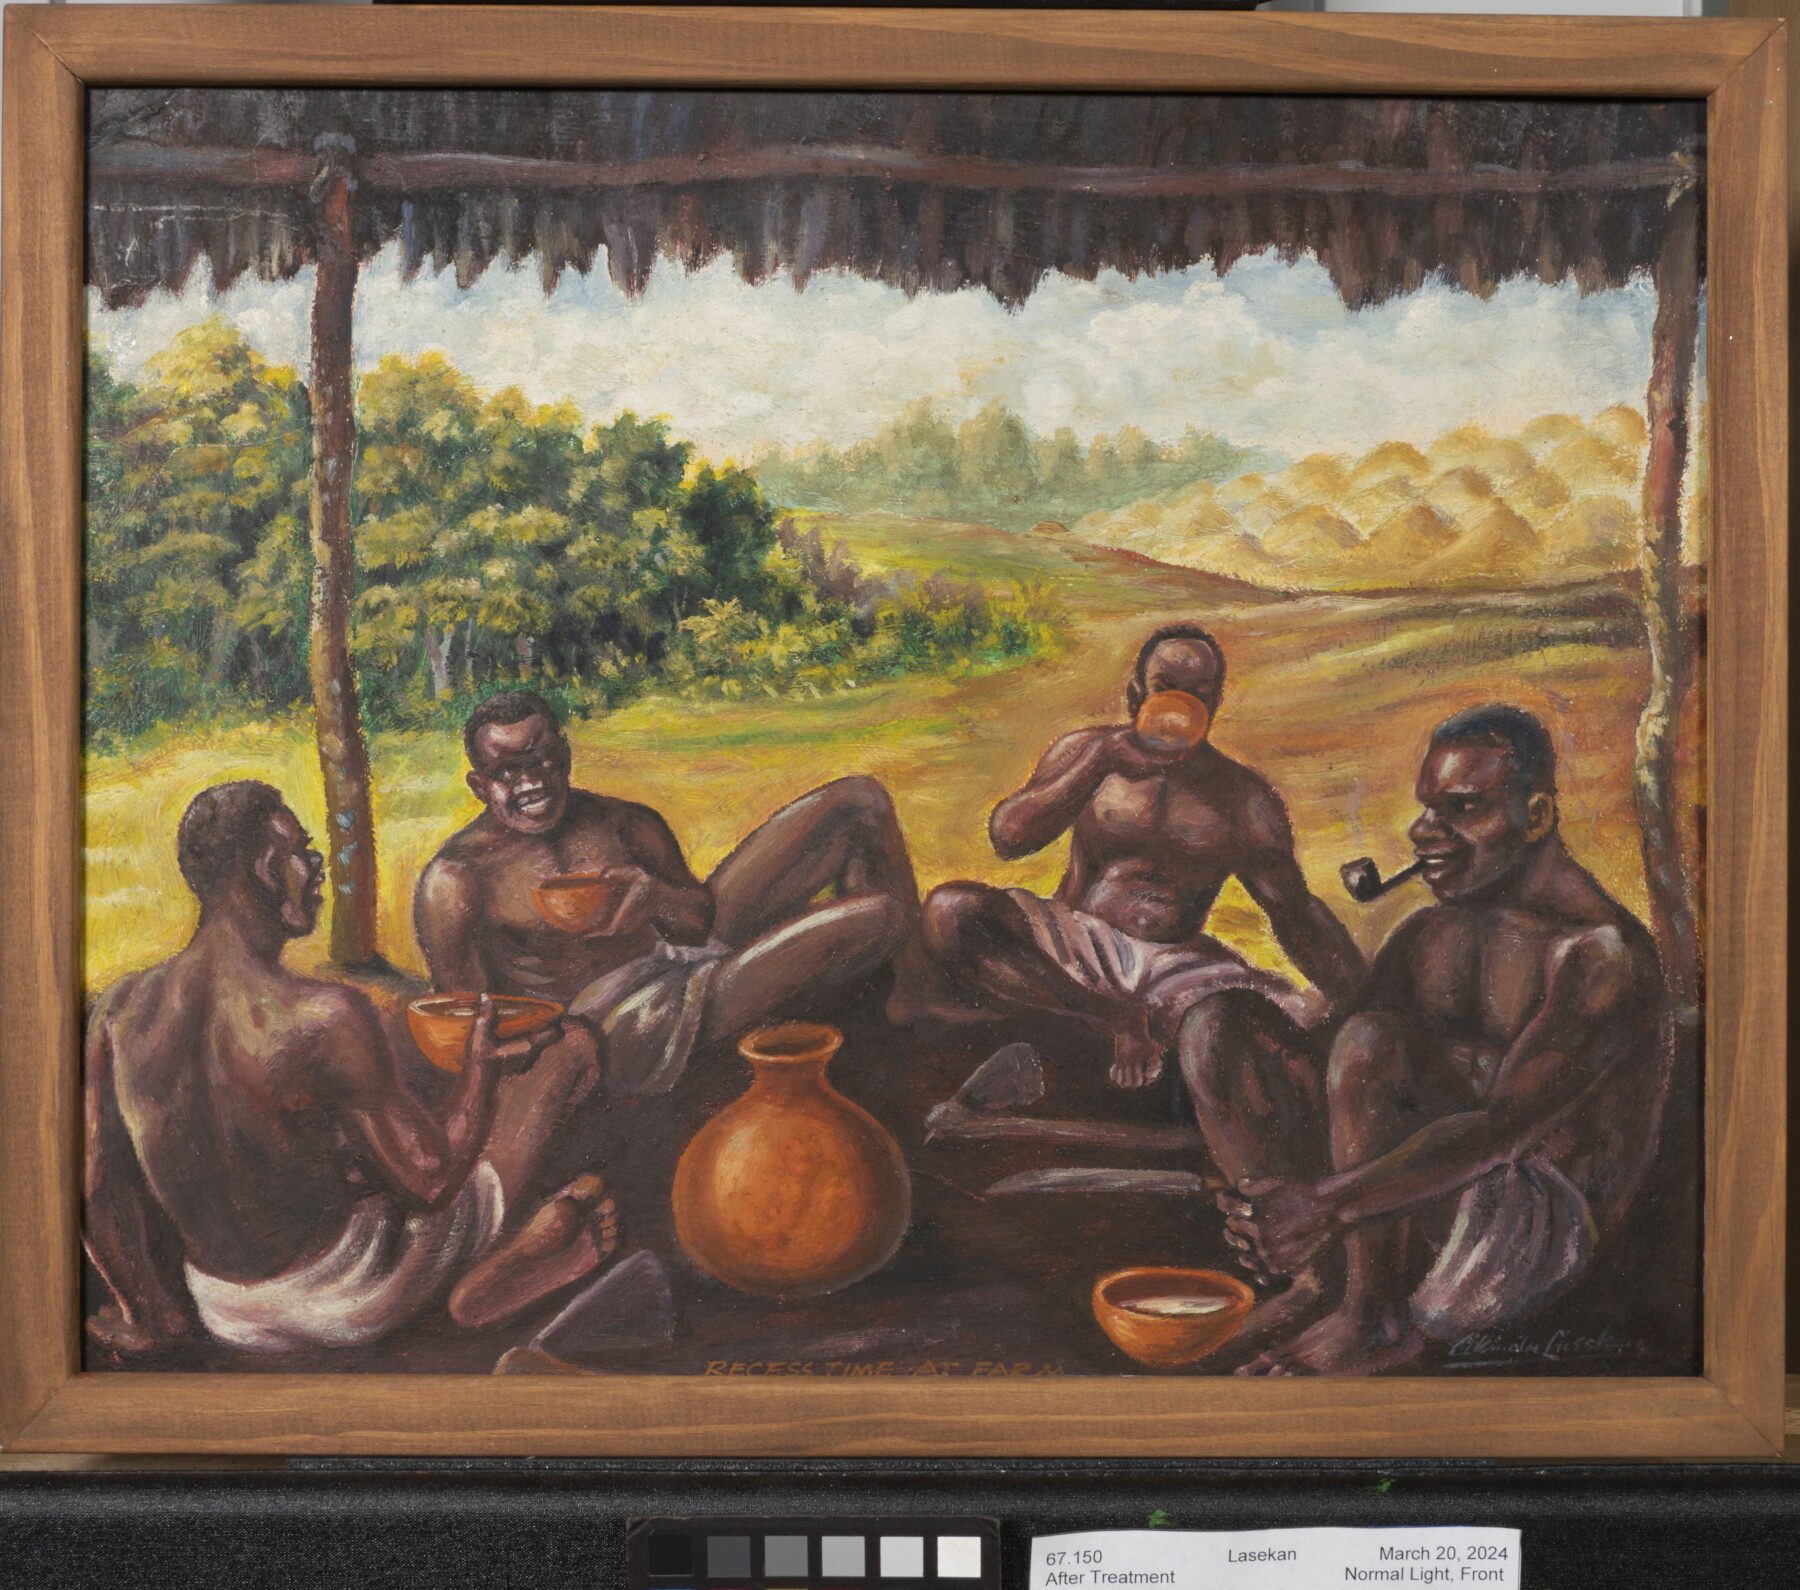
Tricky Tape and Finicky Frames
In conservation, tape can be tricky! This post discusses the conservation treatment of the painting Recess Time at Farm by Akinola Lasekan.
